How To Sublimate On Wood (Both Coated & Uncoated Explained)
Do you have a beautiful artwork and are thinking, is it possible to sublimate it on wood to display as decor in your home?

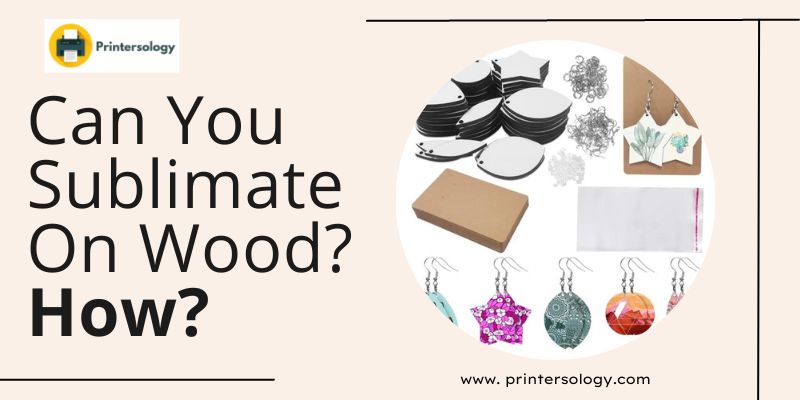
The answer is definitely yes! We can sublimate wood with a variety of techniques that include with and without coating its surface with different sealers before heat-pressing the image on it.
But how do we exactly sublimate? It is easy peasy! Let me break it down for you, ranging from the different methods to prepare the wood for sublimation as well as how to proceed with it afterward so that all your relevant queries get answered under one roof here.
Let’s dive in!
How To Do Sublimation Coating On Wood Before Sublimation?
Either you can buy pre-coated sublimation blanks or you can do coating yourself. There are numerous methods to coat the surfaces of the wood for a smooth finish or even skip any kind of coating before sublimation. Here are some commonly employed ones that you can go for before sublimating on wood.
1. Sanding Sealer!
This is undoubtedly the best method out there! A sanding sealer is an incredible material to use on blanks of wood for the sublimation to work effectively.
It is cheaper than other costly alternatives of coating on wood for flawless results. Moreover, it is easy to apply and does not allow the sublimation sheets to get stuck to the wood surface during the sublimation process.
How to apply?
As I mentioned, this method is super easy! You just have to coat a single layer of sanding sealer using the sponge or a cotton cloth on the wood surface and you are good to go!
There is no need for repetitive coating of the surface for better and polished results since multiple coatings tend to cause a sticky surface eventually hindering the formation of a flawless, final look. You can even start sublimating the wood in a matter of 30 minutes to an hour after applying it.
Using a sanding sealer has really revolutionized the process, thanks to its numerous advantages over the conventional one!
2. Polyacrylic
The second most popular and primarily conventional method is using polyacrylic to coat the surface of the wood. Polyacrylic is basically a polymer that has been in use in the woodworking industry for quite a while. This lightweight polymer is soluble in water and gives off a glossy finish to the wood.
How to apply?
Like that of sanding sealer, the application of polyacrylic is simple too. All you have to do is to apply a fine layer of the polymer using an acrylic brush on the surface of the wood you wish to sublimate. The coating will take a day or two to properly dry before sublimation can be started.
As much as we love using polyacrylic as a coating material on wooden blanks, you might want to get ready for some sticky mess while working with it! The coating tends to get too sticky for the sublimation paper and gives you a hard time whilst removing it.
But do not worry! We have this one cracked out for you too. You can dip your wood piece into water and try rubbing the paper off it with your fingers gradually. Conclude the sublimation with paste wax on top of the final product for a shiny finish.
Sublimation with polyacrylic might seem a time-consuming task but it is absolutely worth it!
3. Thermal Laminating Sheet
The third method that is recommended is using a thermal laminating sheet on top of the wood. This method is just like using plastic covers on top of a rough surface to protect it and provide a smooth base for the craft on top.
How to apply?
I suggest using thermal laminating pouches or sheets for sublimation since they adhere well to the wood and produce vivid results with bright colors. You need to neatly cut the sheets one by one and gently place them on the wood. Next, heat press the sheet at about 350-450°F for about half an hour so that it gets sealed in its place.
My favorite part about using laminating sheets is that canvas is ready to use instantly. You do not need to wait for the sealing agent to get dry and ready to use like the two options mentioned above.
The disadvantage however is how the final product may seem to reflect light off the wood just how plastic is supposed to be. It hinders the vibrancy of colors and gives off the appearance of a plastic sheet glued on a wooden canvas.
4. Uncoated Surface
Lastly, we have the option of using no sealing agents or laminates on the wood to be sublimated. But can sublimation be done on wood without a laminate? Sublimating on uncoated wood may seem odd and outdated but it is still practiced by a number of artists for many reasons like instant sublimation, graphic art, or even lack of good quality sealers.
This method is not recommended since it produces rough results and the colors fade over time. Moreover, you cannot record detailed artwork on an uncoated wooden surface since it will give a rough and shaggy final appearance.
However, you can go for an uncoated surface if you do not wish to sublimate intricate details on the blank wood. Just remember to get rid of the moisture first before proceeding as it is the biggest enemy of sublimation!
Now that we know how to coat (or not coat) the wooden surface before sublimation, let us move on to the major part – the sublimation itself!
How To Do Sublimation On Wood?
I’ve broken the wood sublimation process in 3 easy steps for you.
1. Select a Wood Template And Prepare It
This goes without saying. As explained earlier, Select the wooden template that you want to sublimate on and coat it as mentioned above with polyacrylate, laminating sheets, sanding sealer, or simply leave it as it is if you want a graphic design without too many details.
Here is a tip – go for thin slices of wood as they fit into the heat press and offer greater sublimation success. A light color is preferred since it allows clearer, more vibrant image transfer than allowed by a darker wood shade.
2. Print The Sublimation Design
Next, you need to print the design of your choice on the sublimation paper using a sublimation printer. We would suggest you go for designs that are the exact shape of your wood slices so that you do not have to crop the excess out later.
Place the paper with the design face down on the wood blanks. A heat-resistant tape comes in handy to hold both the wood and the paper together so that they do not budge during the heat press.
3. Time To Heat Press
Maintain the temperature of about 350-400°F depending on the thickness and surface texture of the wood (thicker and rougher sections require more heat and vice versa) in the heat press and place your wooden slices on it. Make sure to cover the sublimation paper with parchment paper before pressing down the heat press for about a minute.
Gently remove the parchment and the sublimation paper afterward and watch your design transferred onto the wooden slice! Wait for a few minutes before touching the print to allow the ink to settle in and also for the surface to get cooled down.
Frequently Asked Questions
1. Can you sublimate on plywood?
Yes. Plywood is actually a great platform to sublimate on preferably with a polyester-coated surface – thanks to its fine grain pattern and great tolerance to the heat-pressing process. You can go for light-colored plywood for even better results.
2. Can you sublimate on painted wood?
Yes, painted wood can be sublimated. You just need to place a protective covering followed by a laminate on painted wood. Continue with the conventional heat-pressed sublimation process afterward and you are good to go!
3. Can you sublimate on wood cutting boards?
Yes, you can! Wood cutting boards generally come with a smooth, glossy finish to them which makes the sublimation easier than that on rough blanks of wood. However, applying a sanding sealer or laminate further improves the final finish of the product on the wood-cutting board.
Conclusion
Wood sublimation is rapidly gaining popularity and for the right reasons! With the beautiful, glossy replicas of designs on wood with its rawness shining through – it really is a great addition to the world of arts and crafts. I am sure you can now sublimate the wood and create amazing crafts after reading this detailed step-by-step guide.
If you still have any questions or suggestions, do let me know in the comments below!


